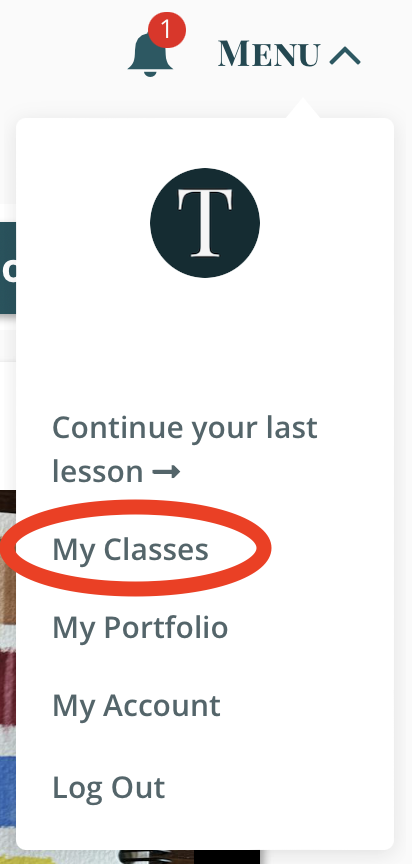
Access Your Class:
Click on 'Menu' in the top right corner and then select 'My Classes'.
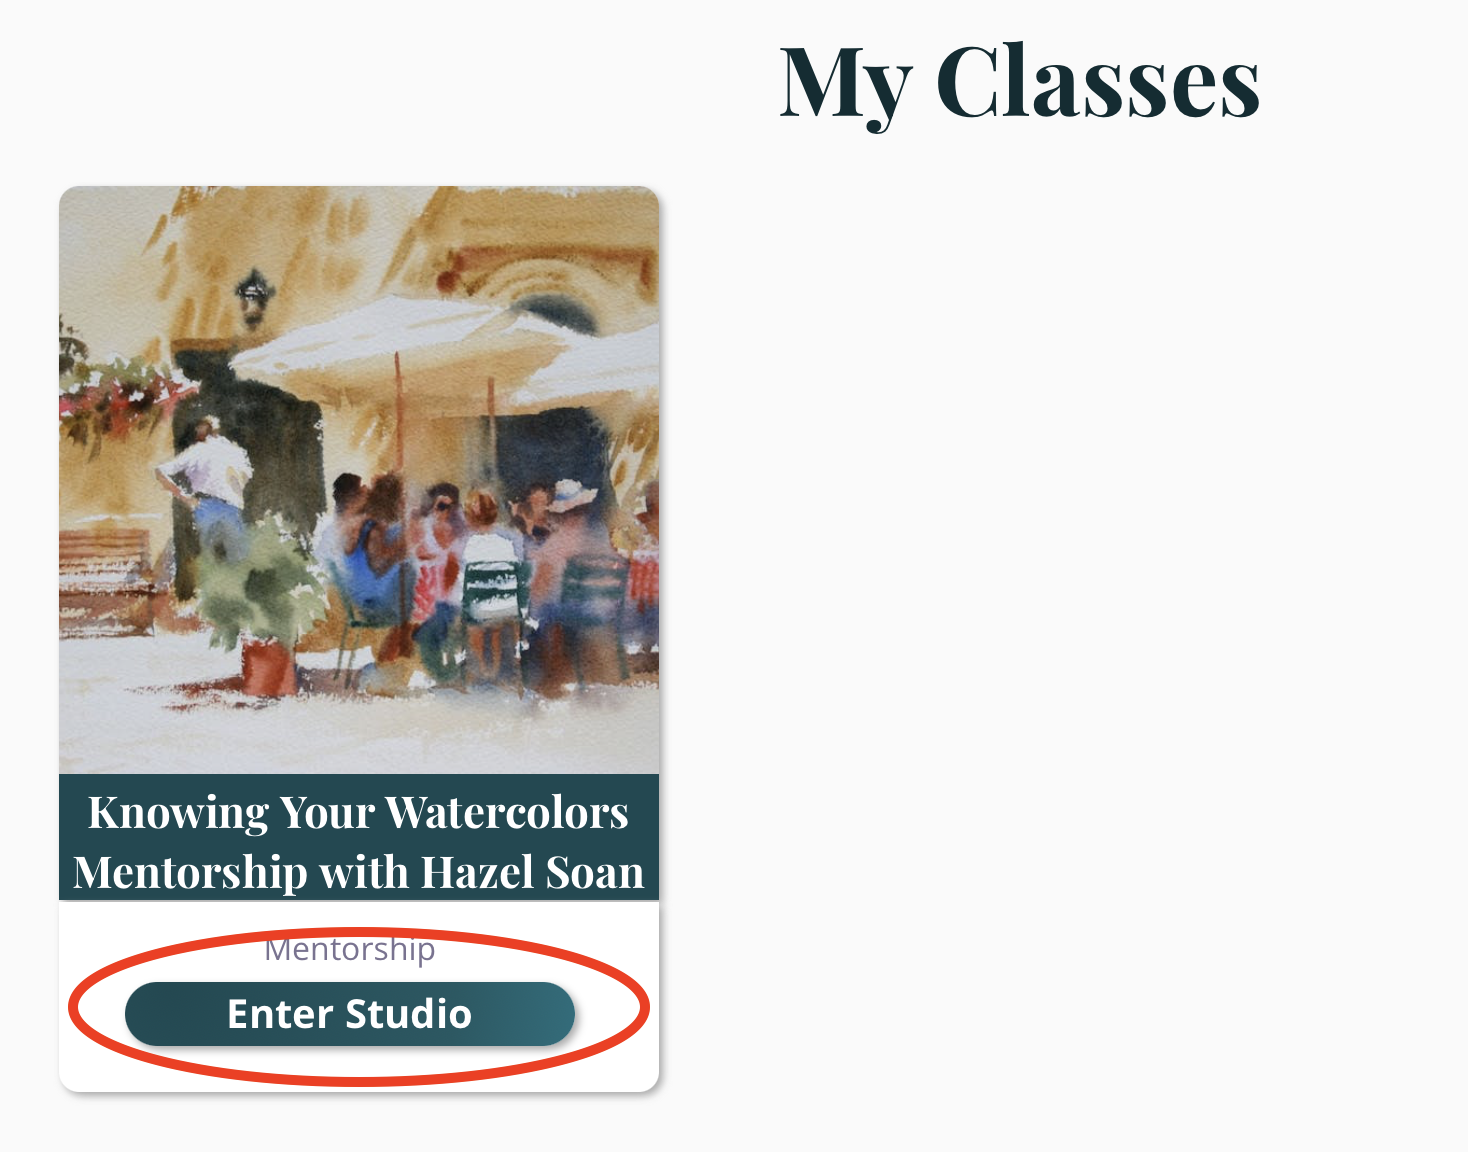
Enter Your Studio:
Find the class you wish to upload work to. Click on the 'Enter the Studio' button for the relevant class.
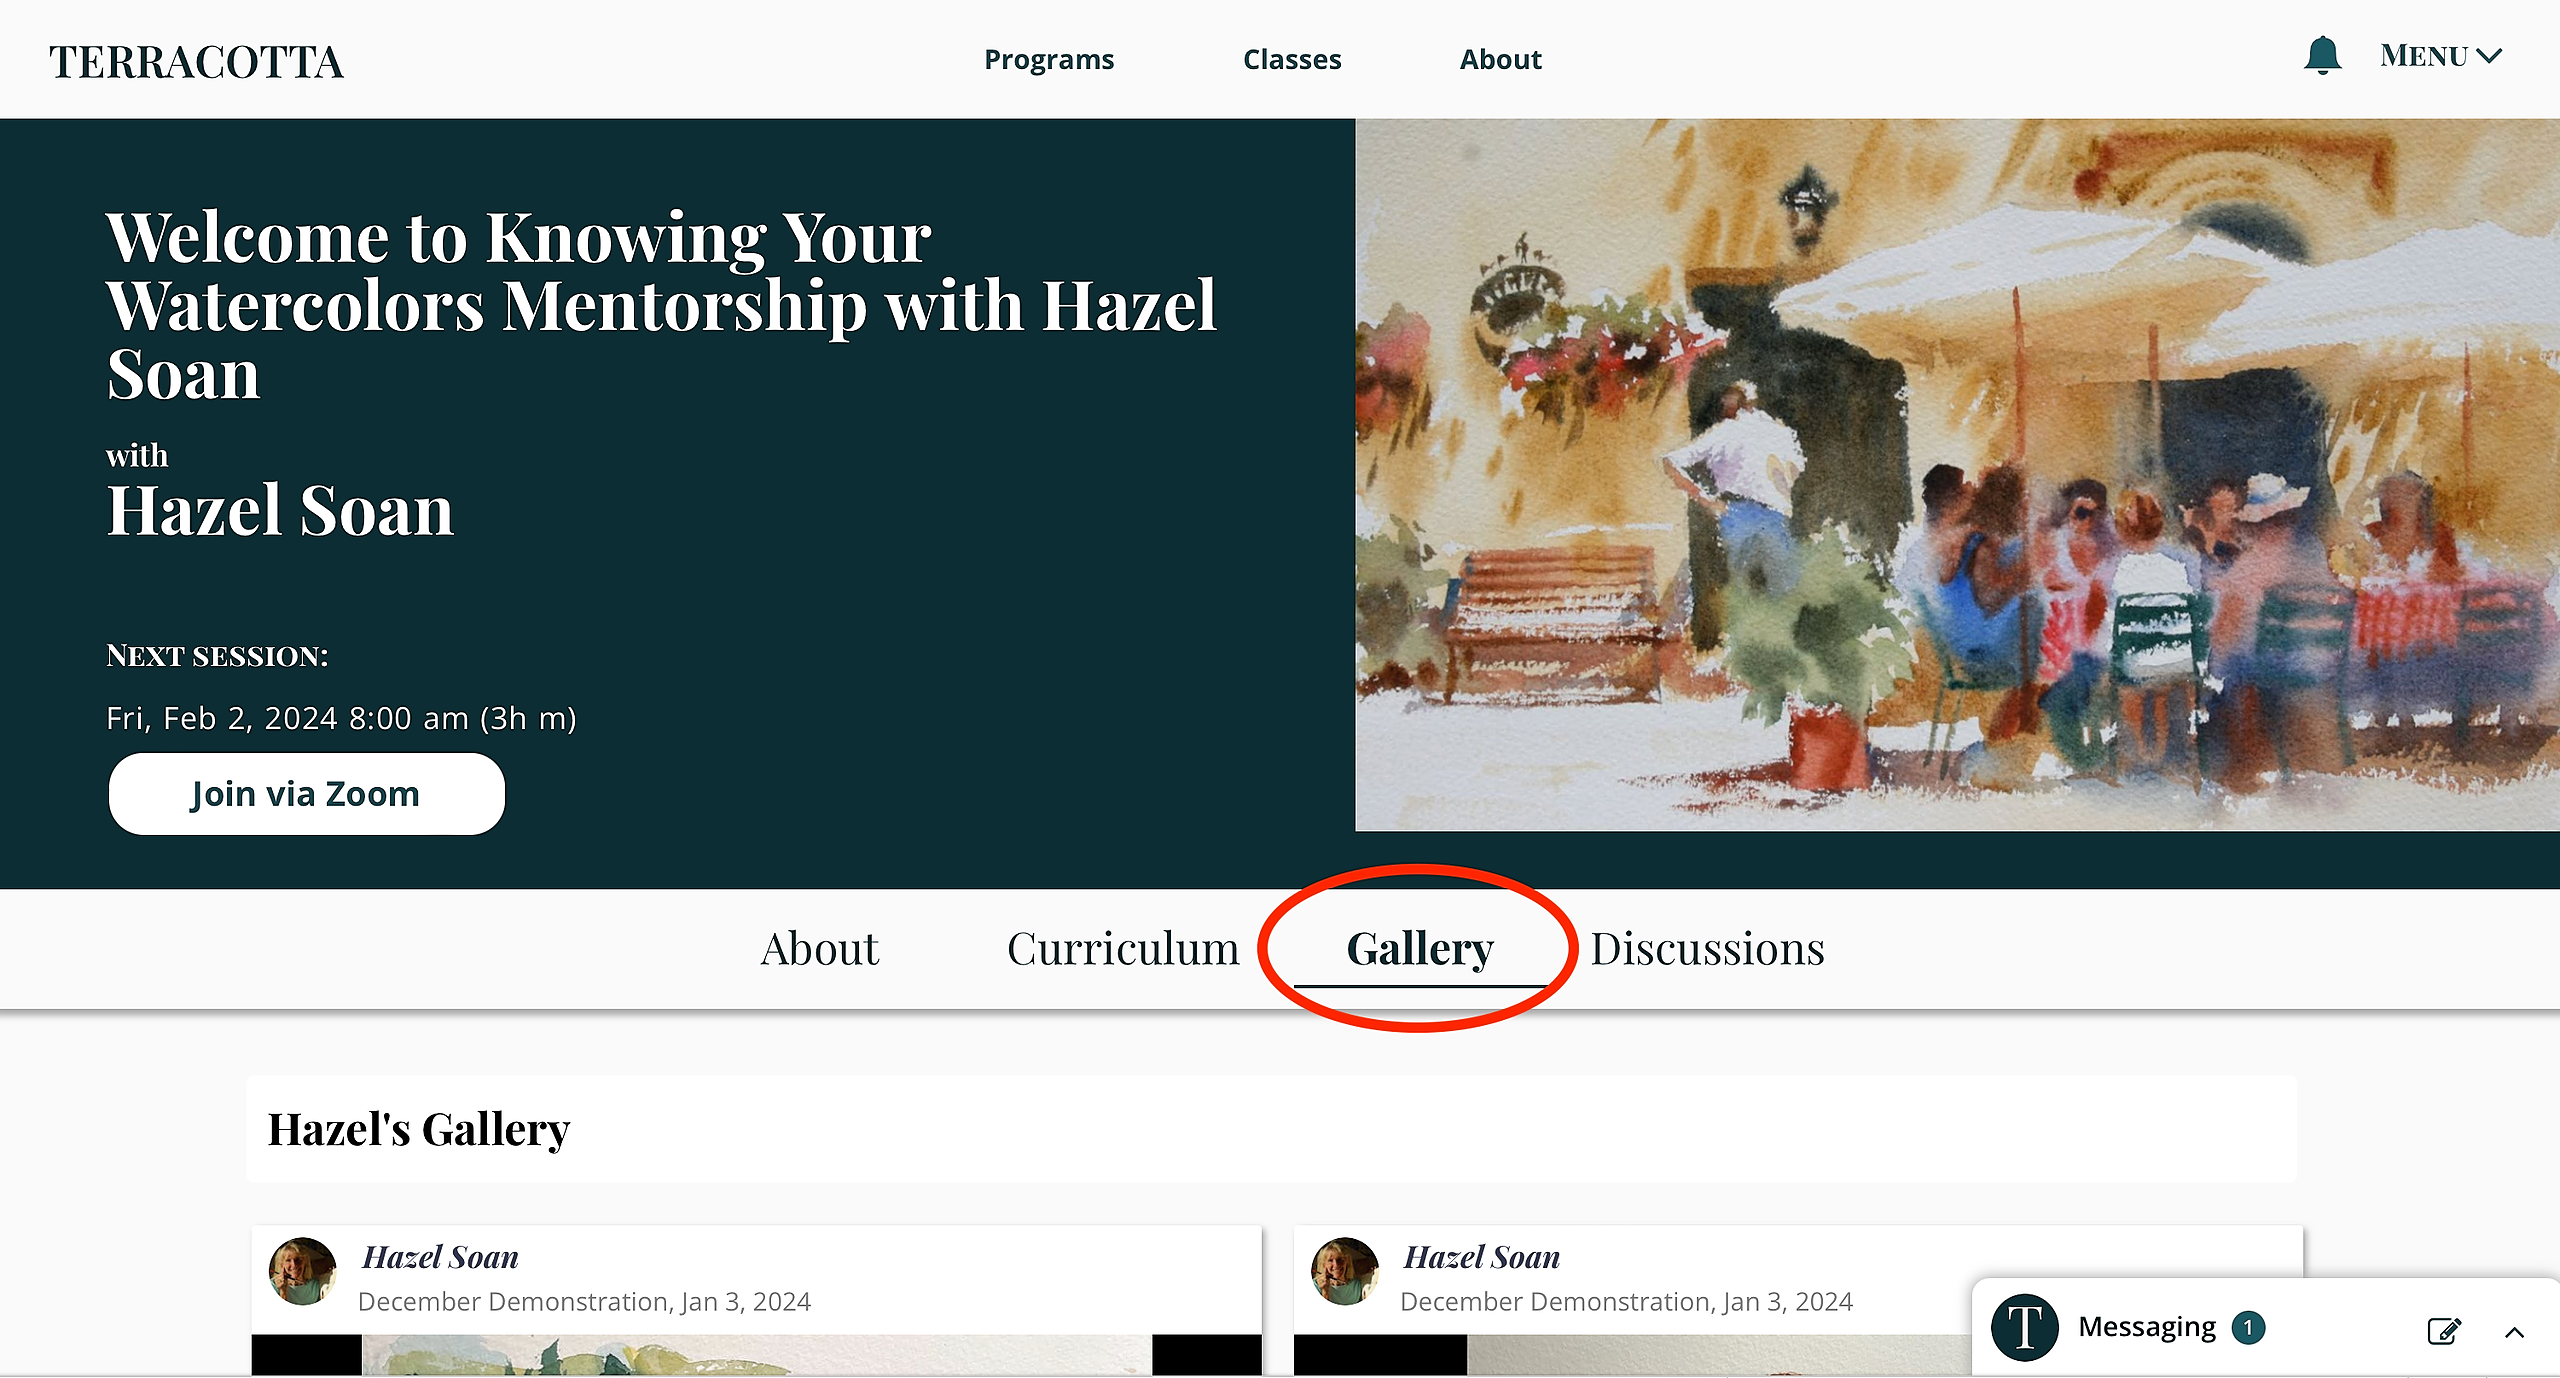
Navigate to the Gallery:
Within your class studio, locate the 'Gallery' tab and click on it.
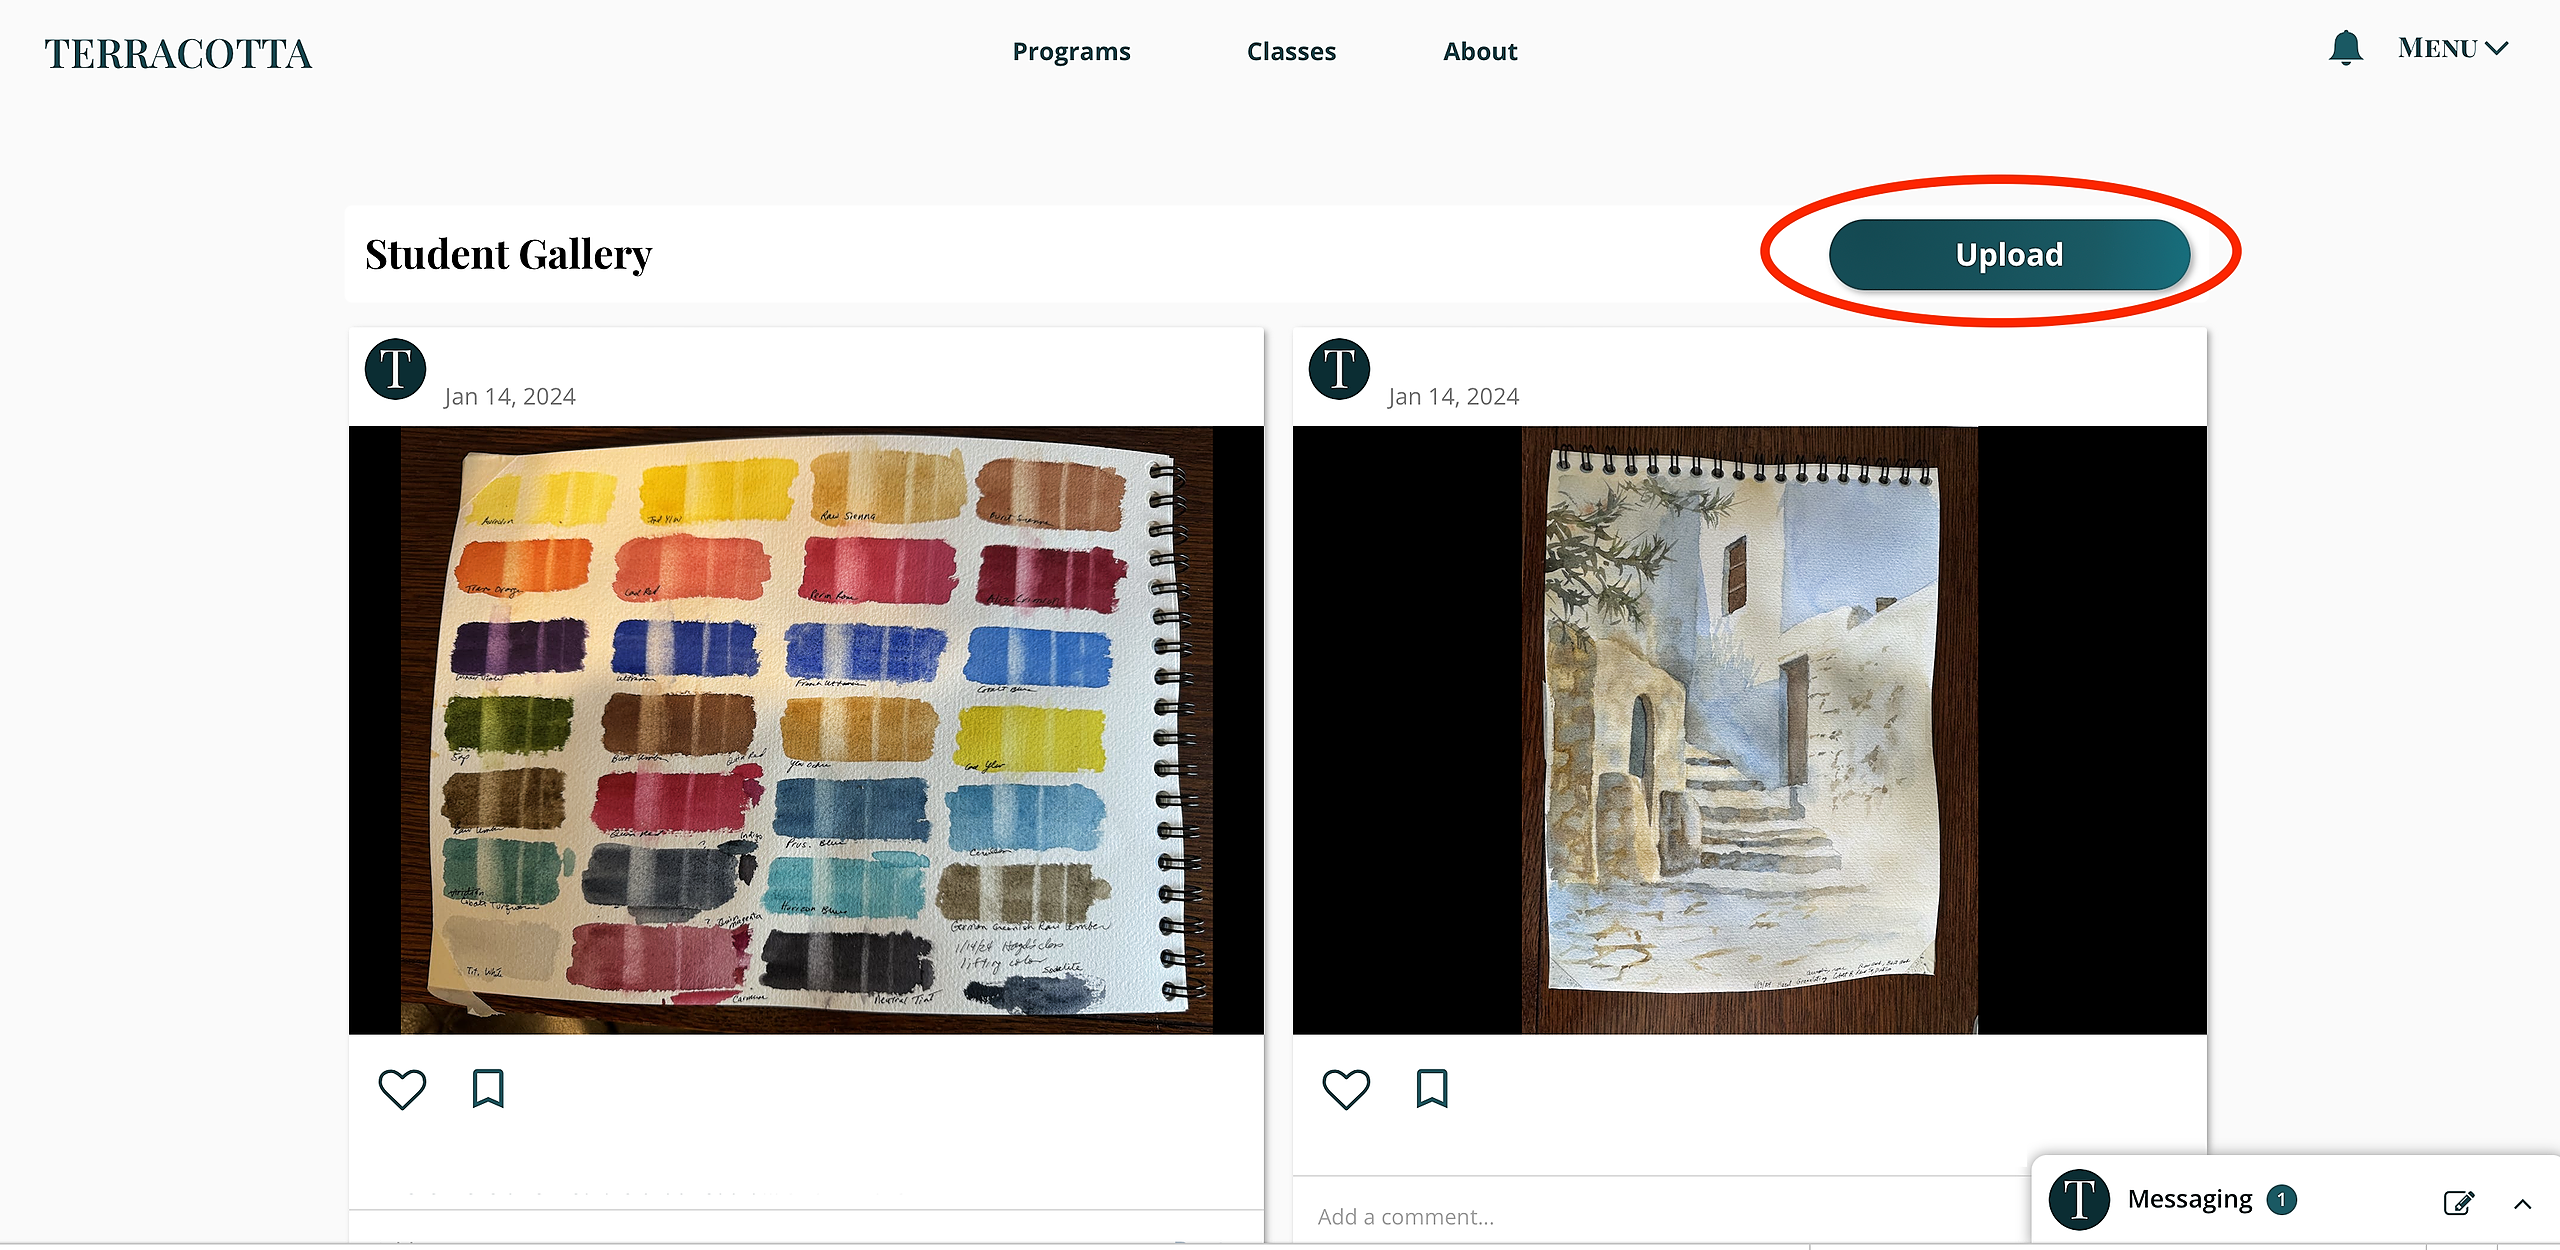
Find the Student Gallery:
Scroll down the Gallery page until you see the 'Student Gallery' section. Click on 'Upload'.
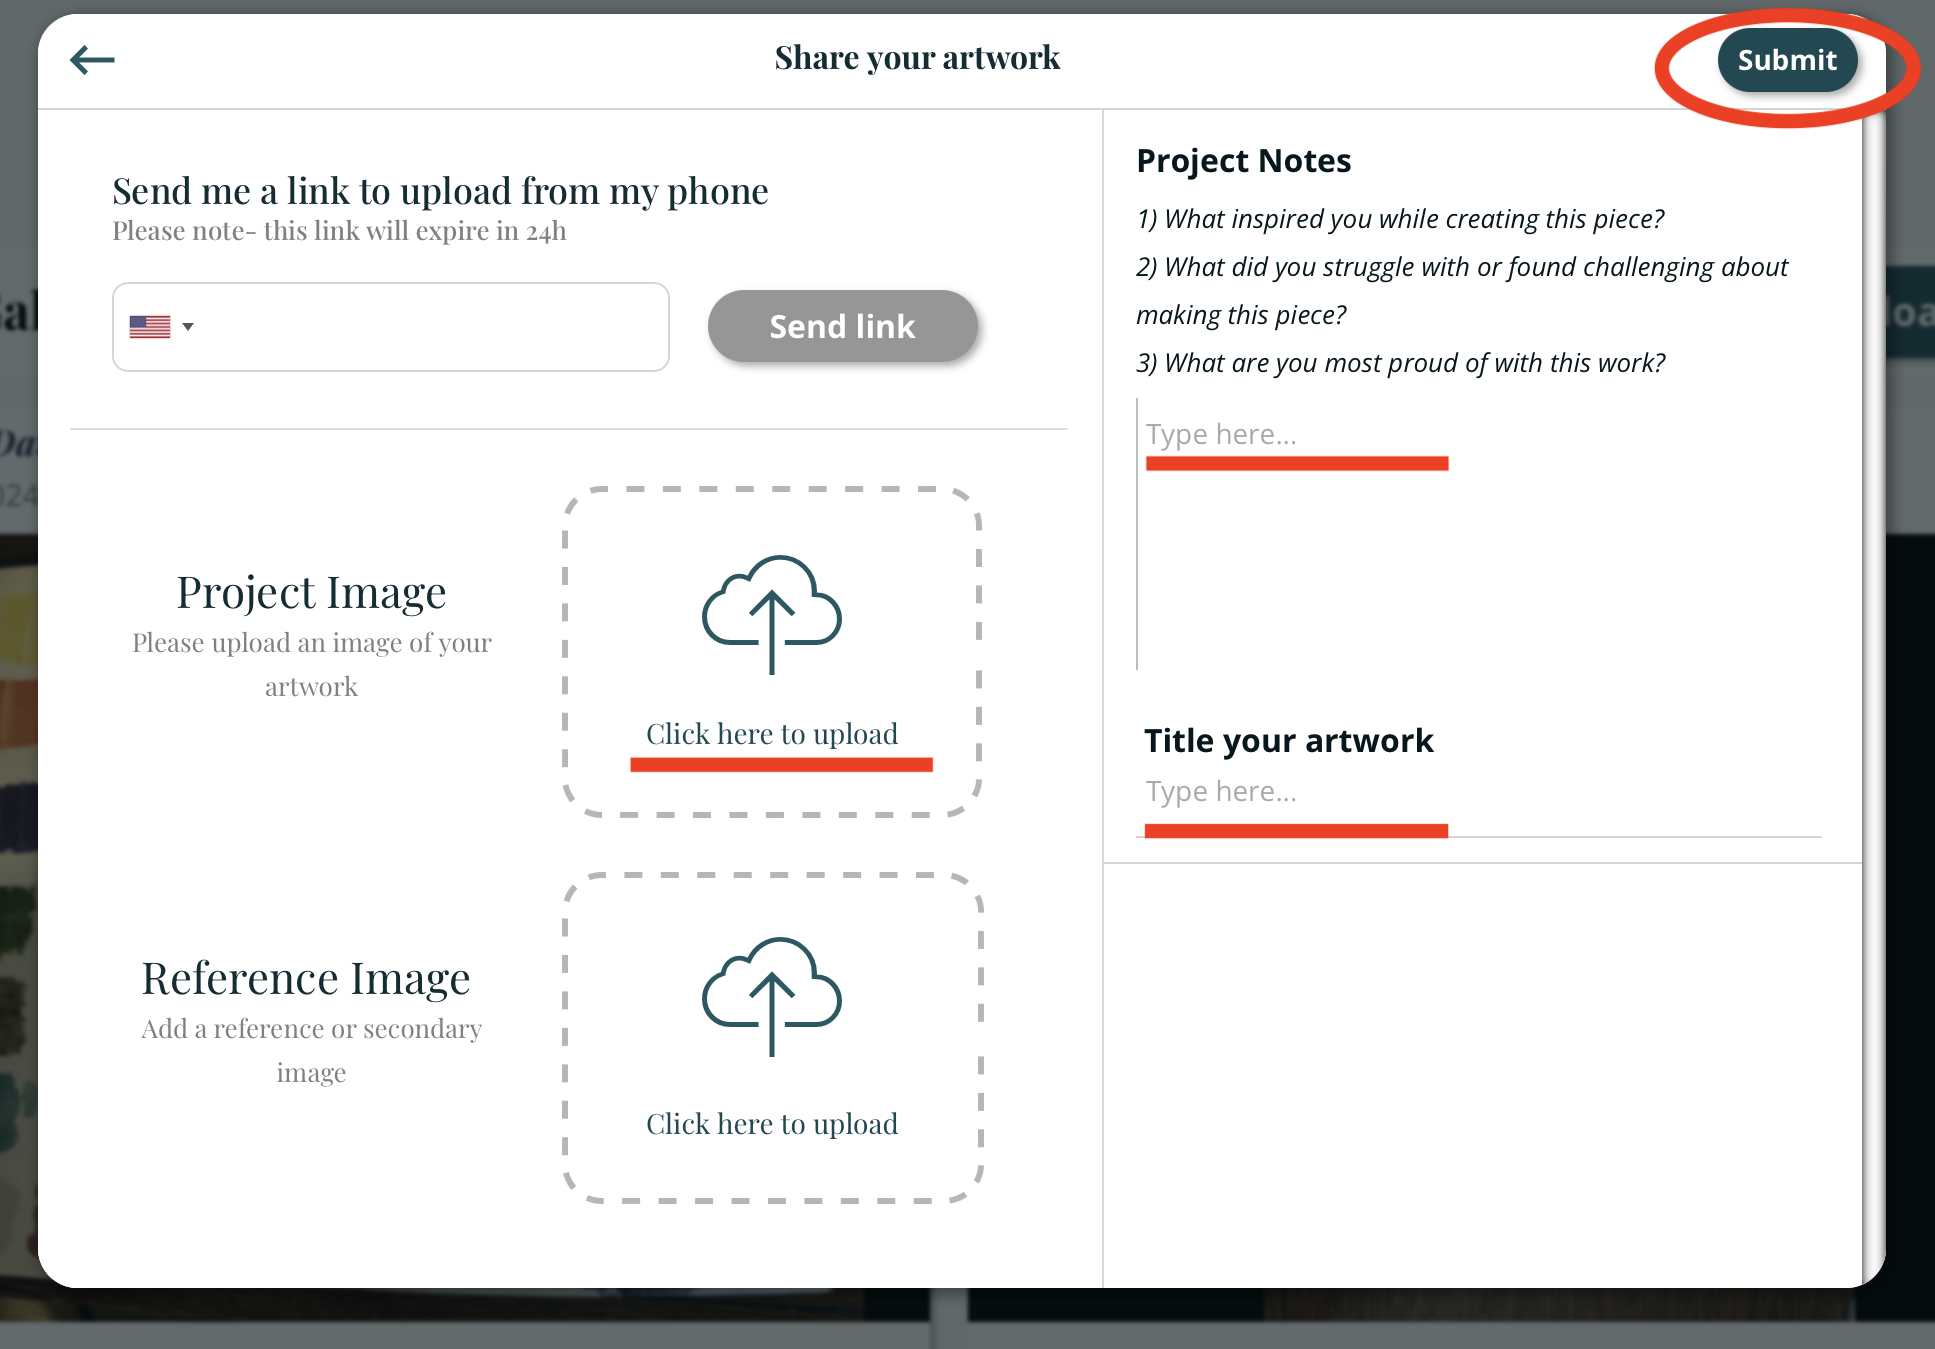
Upload & Add Details to Your Artwork:
An upload window will appear. Choose your picture file, add a title and/or description. Once you've filled in the details, click 'Submit'.
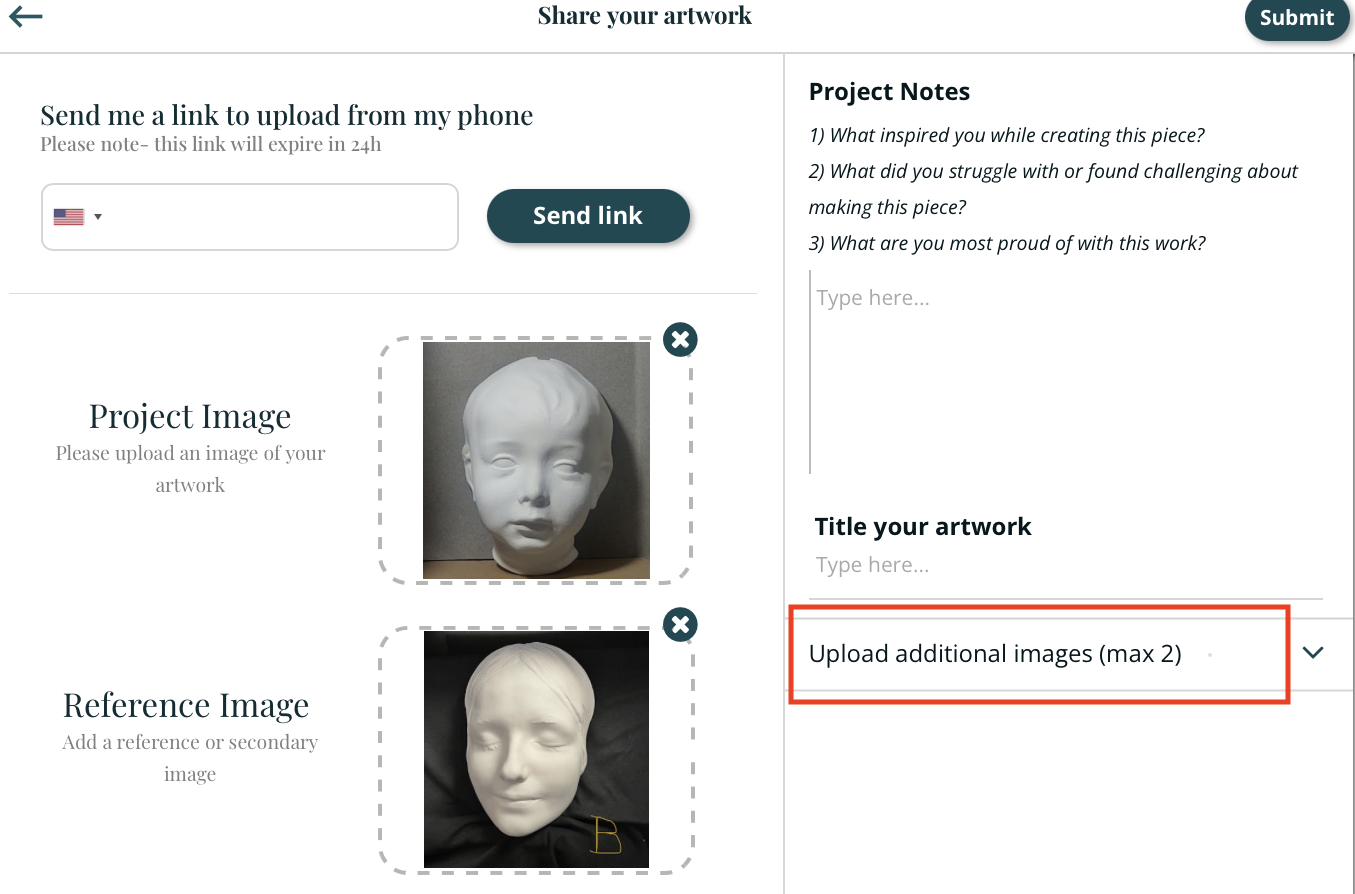
Adding Additional Images
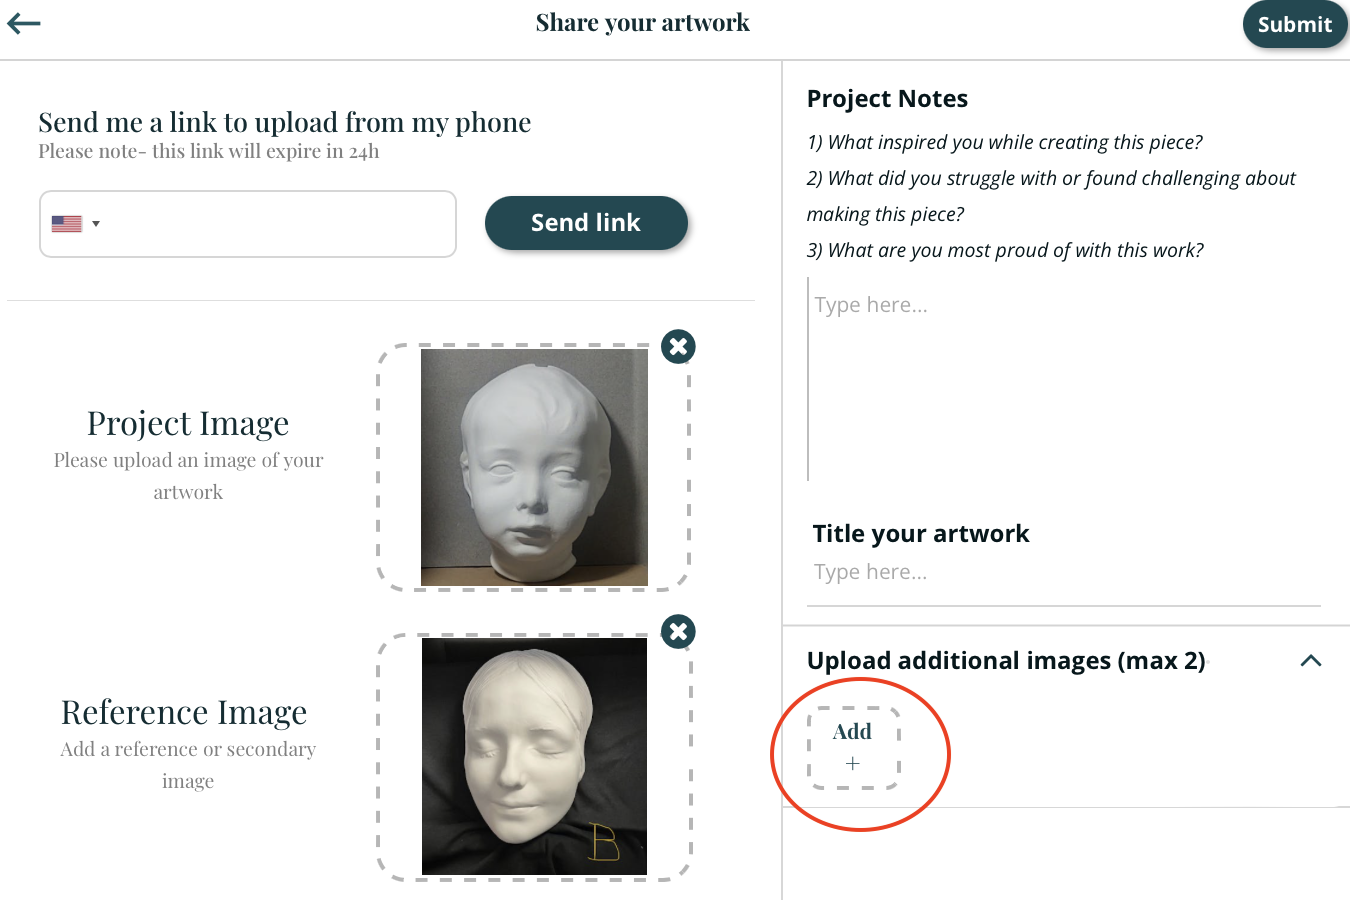
Once you've added two images, a box in the lower right corner will appear that says "Upload additional images (max 2). Click to upload additional images one by one.
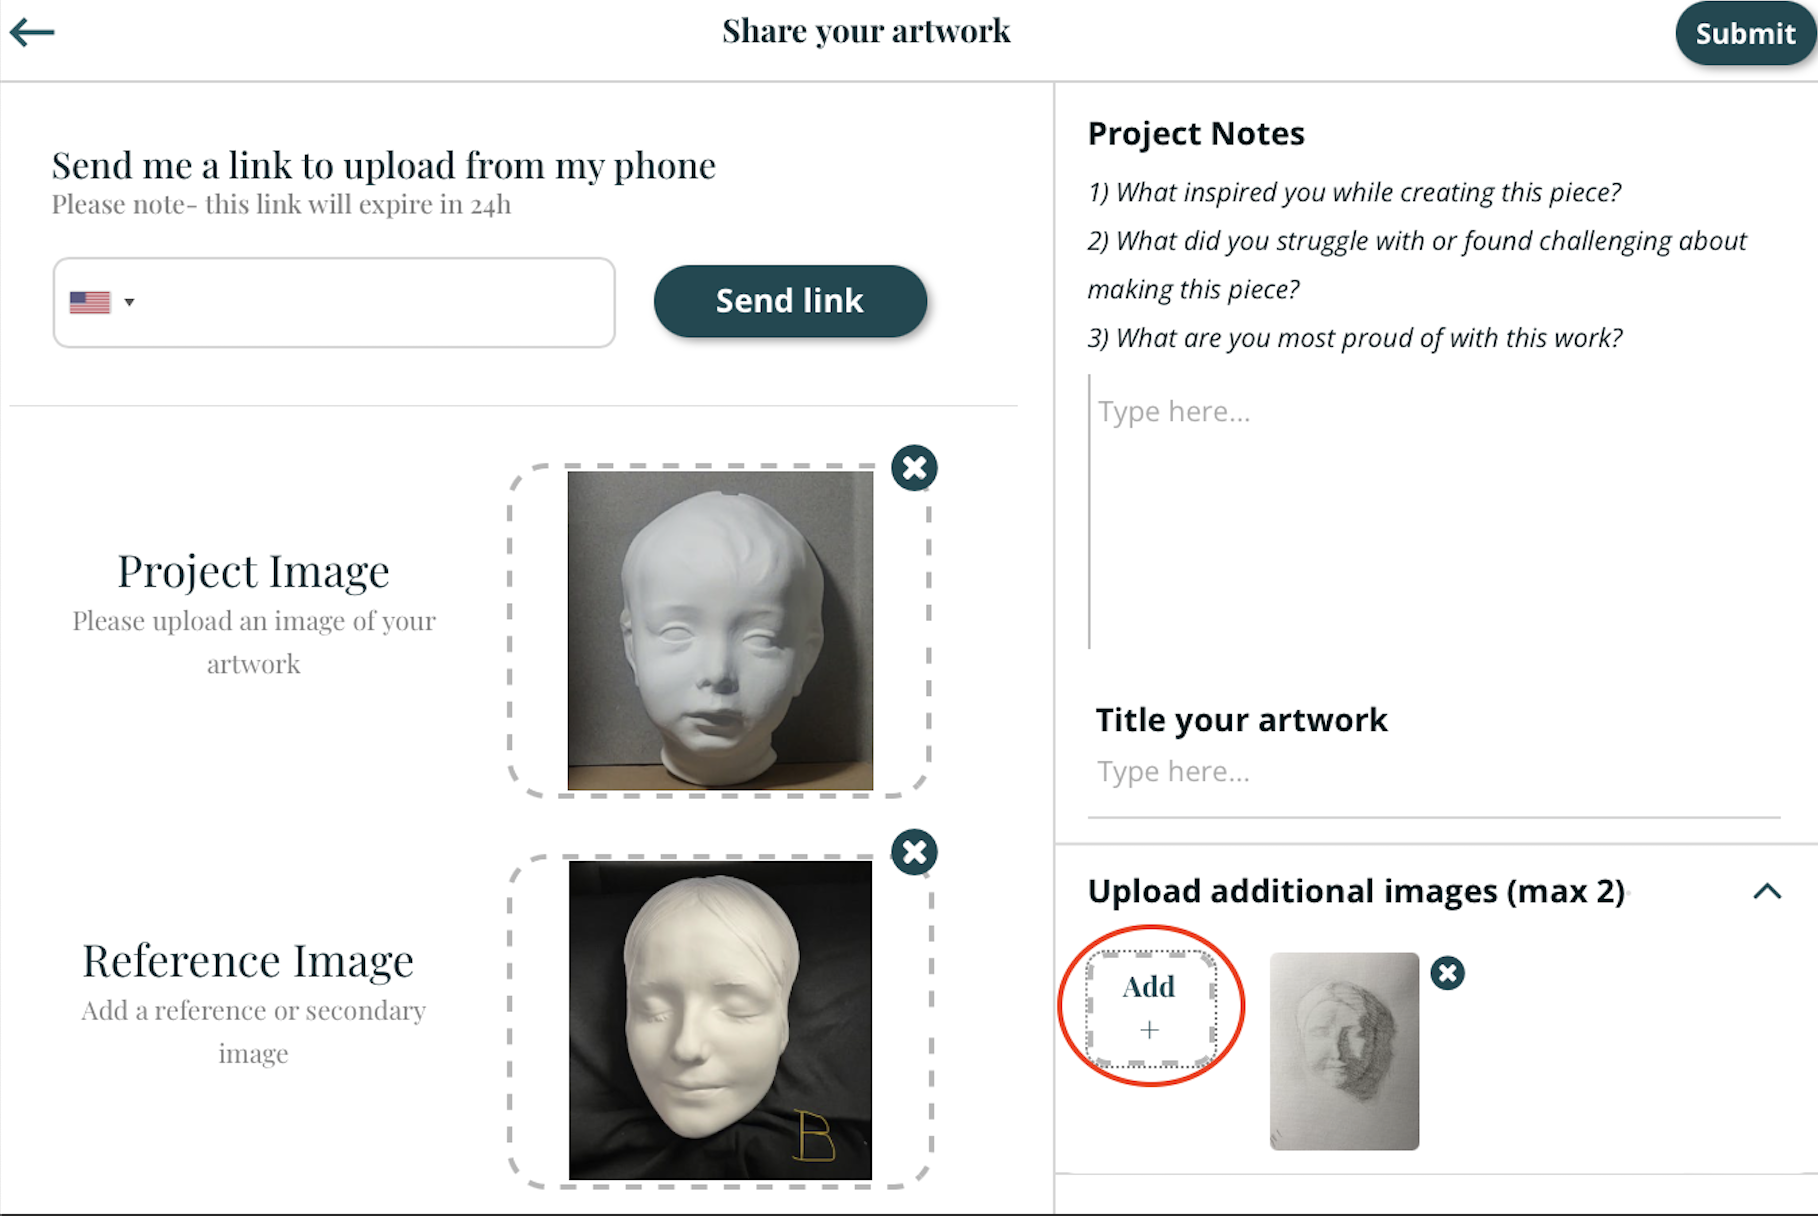
Remember to click "Submit" to upload your images to the gallery!
Deleting or Changing Your Images
To delete an image, click the the little 'x' in the top right corner near your image.
To change the image, click directly on the image and a window to select a different image will open.

Remember to click "Submit" to save your changes.
Your artwork will now be displayed in the Student Gallery. We're excited to see your creative works!